Firstly, anyone can draw! We all have a different style and not all drawings are for display or public viewing. They can be done just to think out an idea or record something we see. Perfection is not necessary and not every drawing should be a ‘masterpiece’. It’s a great way to slow us down and it allows us to study an object or view – it’s too easy to take multiple photographs of a place or thing and believe we looked.
Drawing digitally is straightforward. Basically, you will have a digital canvas and you’ll be making marks all over it. It is an extremely versatile and fun way of making art and, from personal experience via teaching, all age groups can do it.
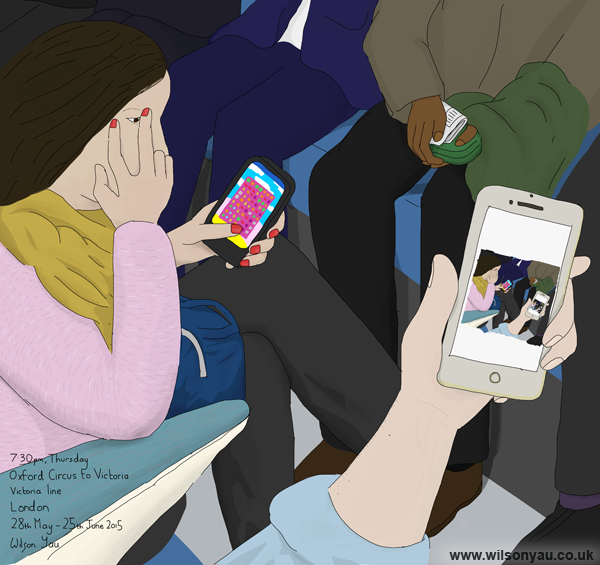
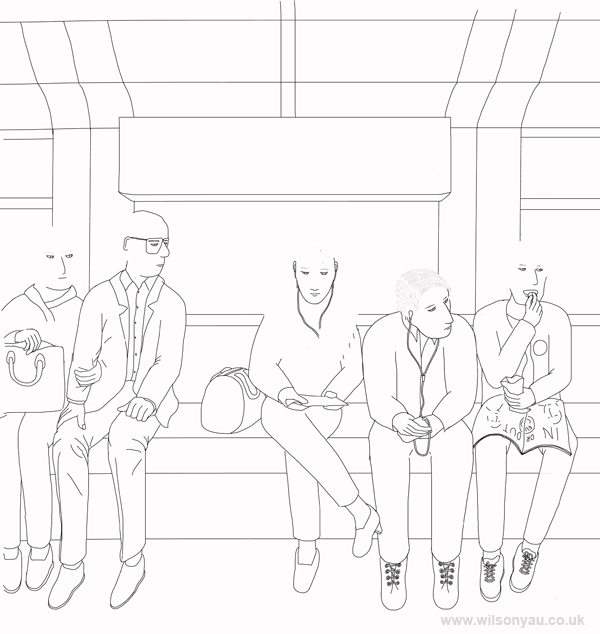
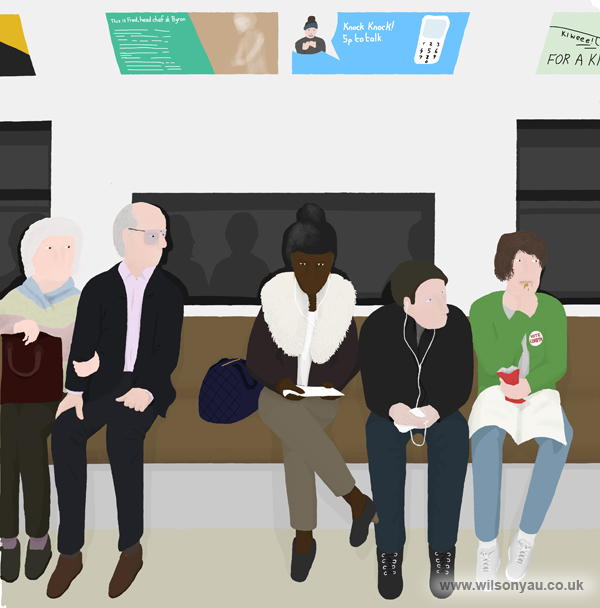
You can view videos of my drawings being created on an iPad/iPhone, some drawing apps record (e.g. Brushes Redux and Procreate) the whole drawing process.
In this article I’ll be showing you loosely five of the steps to drawing on mobile devices. Using a PC or laptop will use similar principles, but you’d be using a stylus or mouse instead and probably different software. A stylus can be used on mobile and tablet devices too, though I tend to just use my finger, which I encourage; it’s one less thing to lose, buy or carry.
Five steps:
- Choose an app
- Experiment and get to know your digital tools
- Get inspired, choose a subject and sketch
- Extra control with layering and erasing
- Share and backup
Step 1: Choose an app
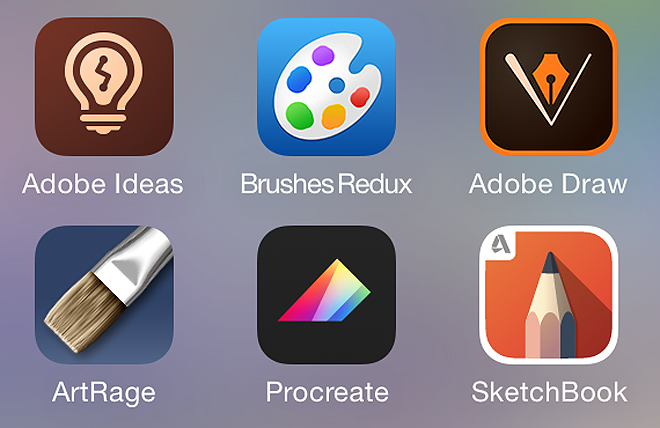
There are plenty of apps you can download and install that will enable you to turn that tablet or smart phone into a device for creating art. I find it difficult to recommend any particular app, as some are free, other not, or require you to pay for upgrades. Test a few out and see which suits you, as each has different tools and functions, though I do use Brushes Redux for much of my teaching. The biggest issue for me is that I’ve had to change what apps I use as some become obsolete or get affected by bugs. But here’s a list of what I’ve used, though not necessarily recommend that I’ve used on iPhones and iPads (I’ve not got much experience using other devices):
- Adobe Ideas
- Adobe Draw
- Adobe Fresco
- Art Rage
- Autodesk Graphic
- Autodesk SketchBook
- Brushes Redux
- Loop (sketch animation)
- Paper
- Procreate
- Tayasui Sketches
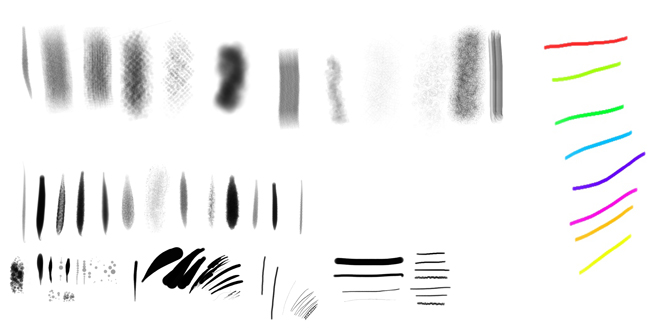
Step 2: Experiment and get to know your digital tools
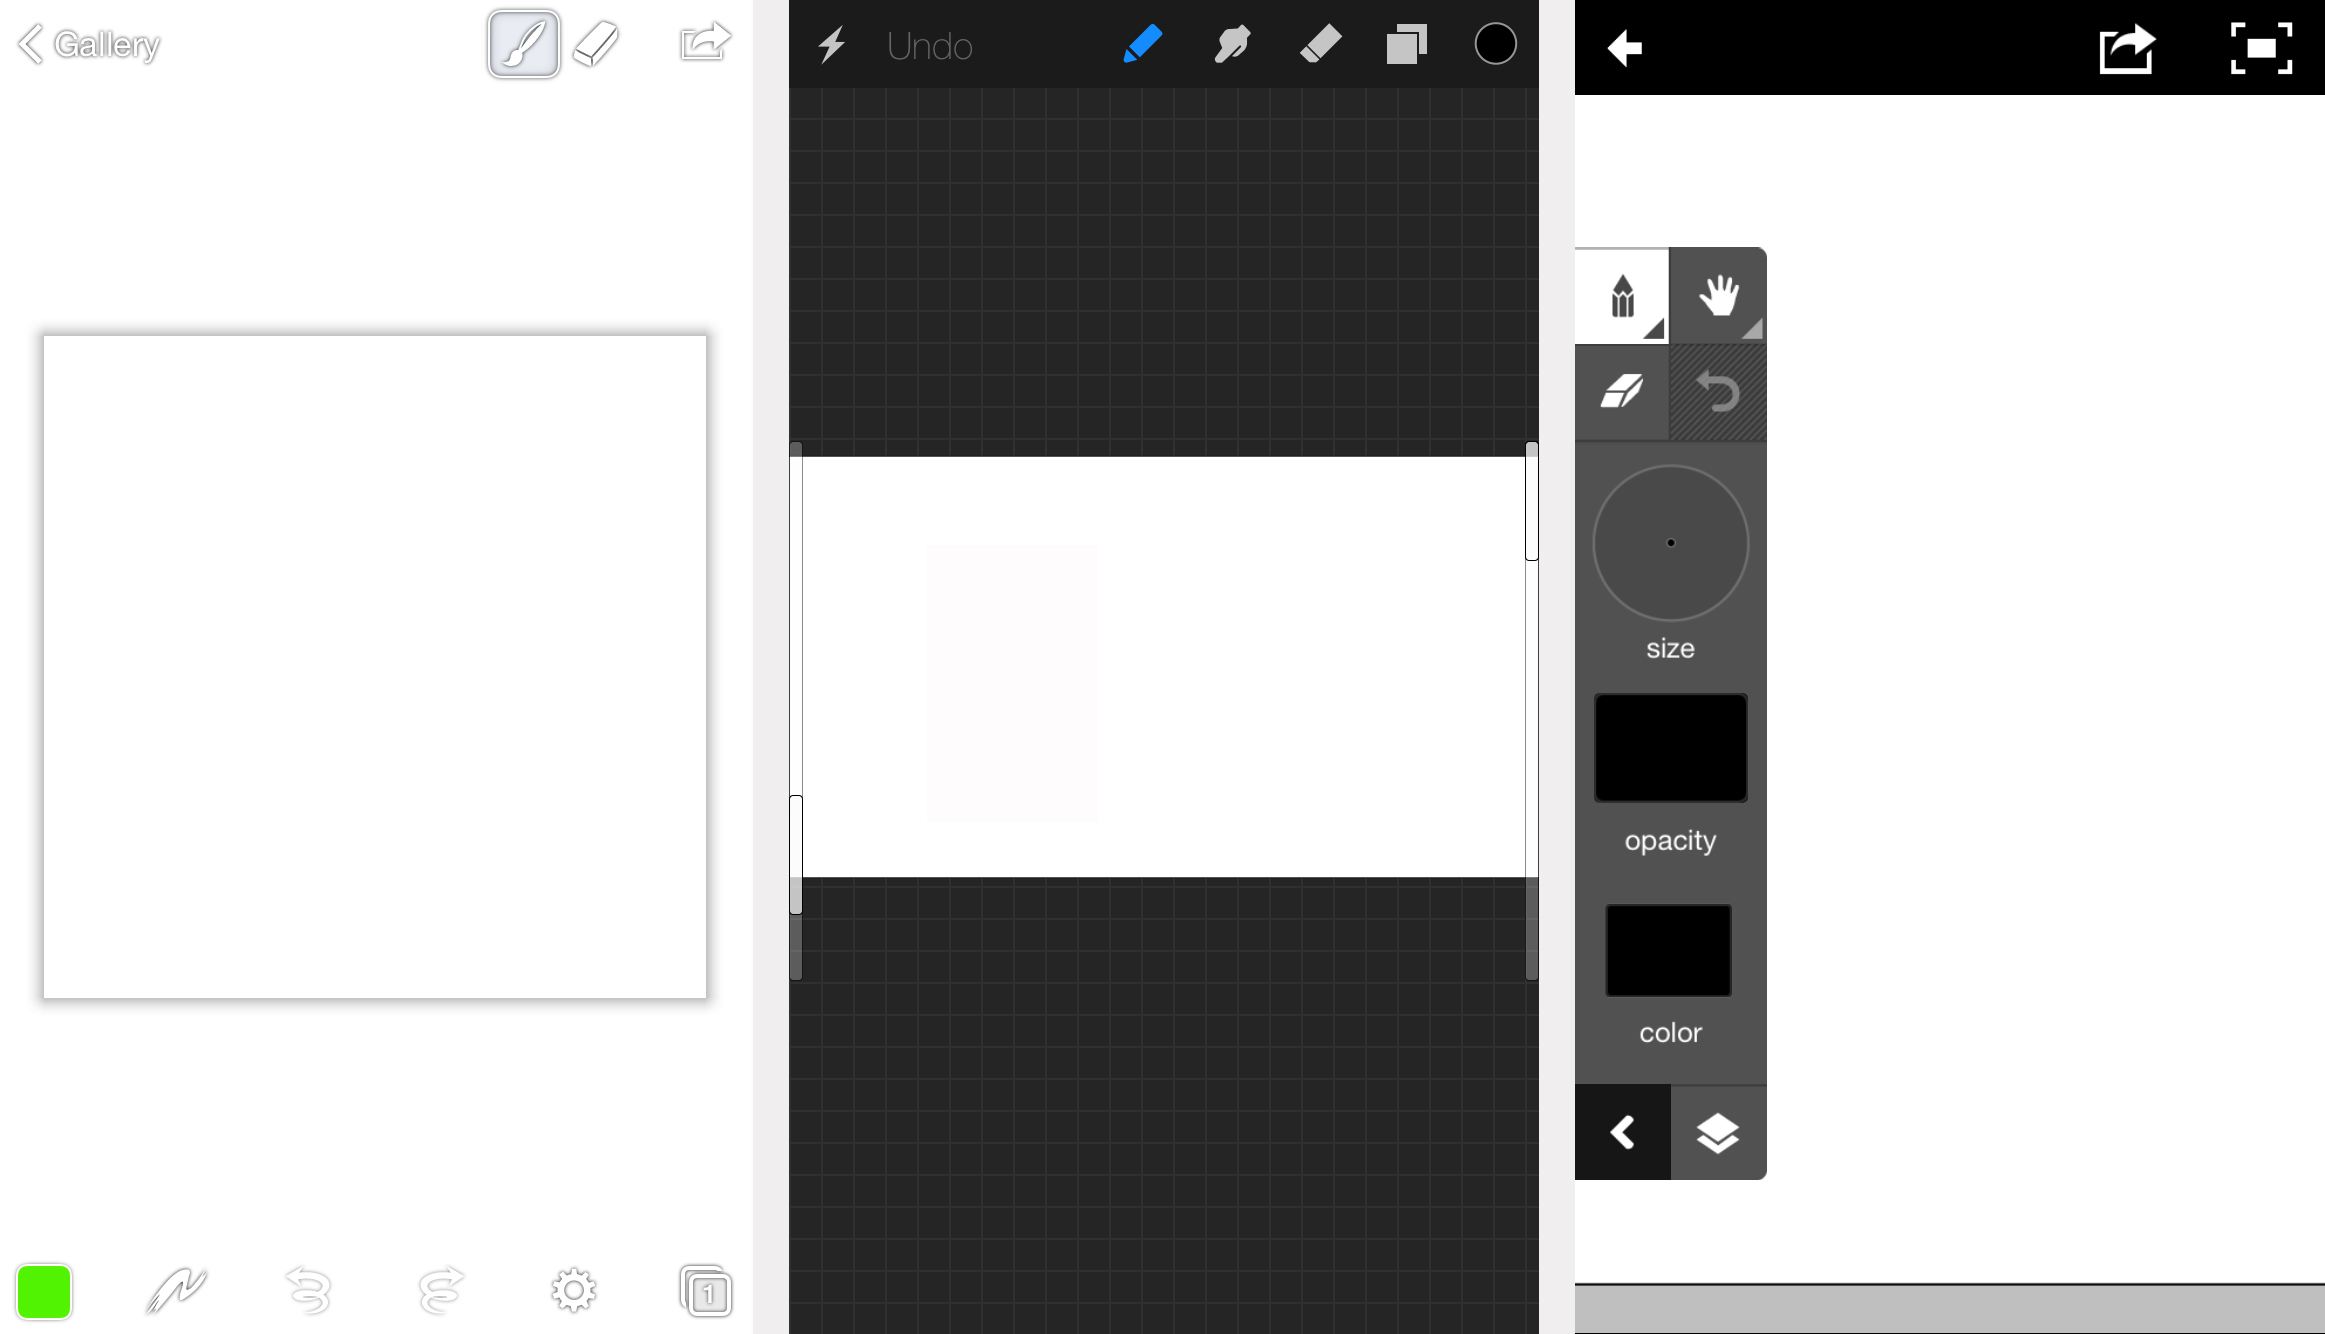
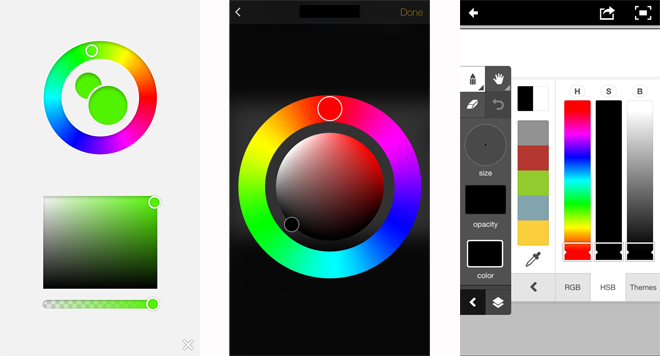
Get used to the drawing tools and their sizes, textures and colours. It’s a challenge learning what button does what and identify where the tools you want are. Your first piece may be a mess, it doesn’t matter, treat your first drawings are experiments. Experiment with as many different textures, colours and sizes as you can to make marks on your digital canvas, in this way you’ll discover what effects they create and the potential of your app. Most drawing apps work in similar ways with the same tools and ideas. It will be the layout and appearance of these tools that will vary.
Below are a few screen shots of different apps as they appear on iPhones, it will vary between devices.

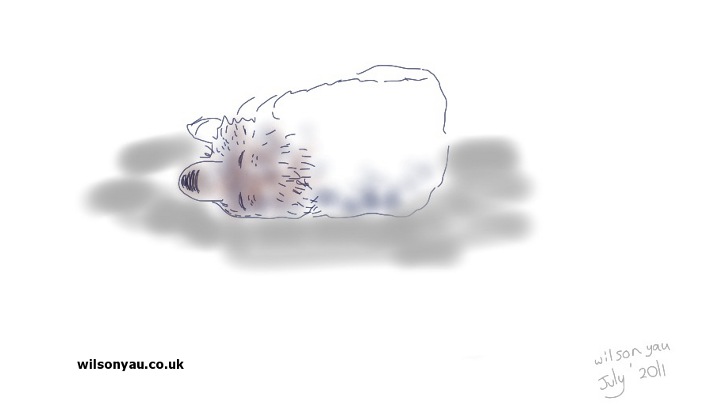
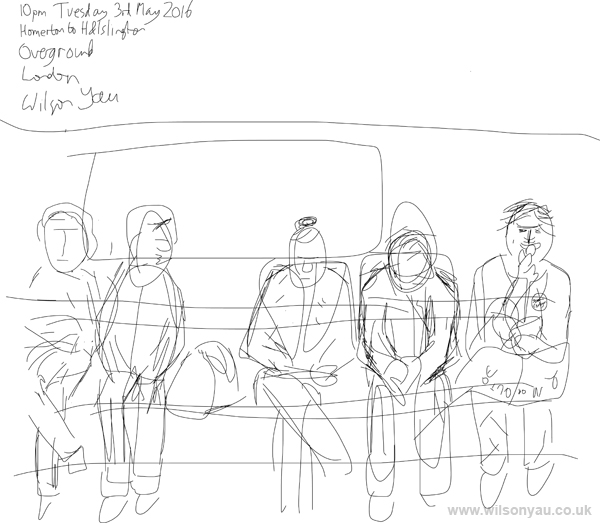
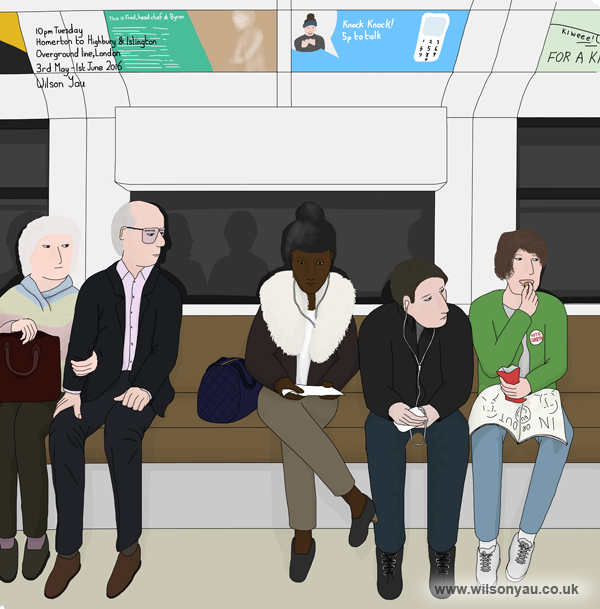
Step 3: Get inspired, choose a subject and sketch
Find a place, any place: home, commutes, holidays or going out. You can create a quick sketch of what you see or even imagine, using simple lines or blocks of colour. Most apps allow you to zoom in to add details, which overcomes digitally the small physical size of your mobile or tablet device. Drawings can be done in seconds, or can be worked on over the course of several sessions; below are examples of both.

Step 4: Extra control with layering and erasing
Layers
Your app may offer you a canvas that has multiple layers, where anything drawn on the top layer masks those below (you should be familiar with this idea if you use Photoshop). These muliple layers are like seperate layers of paper, allowing you to keep outlines, background and foreground elements of your drawing seperate for editing.

Erase tool
I use this frequently. It will allow you to undo your last actions, though how far back will depend on which app you choose to use. You can draw with the knowledge that any bad choices, mistakes or experiments gone wrong on your work can be changed by a single button or gesture of your finger.
Step 5: Share and back up
The digital work you produce can immediately be shared online or messaged; I put some of my work on this website or on Facebook. Like with computers, it’s best practice when you produce any electronic file to make sure you save it somehow off your mobile device, whether that’s via social media, a blog (Tumblr is one option), photo sharing site (think Flickr), a hard drive (even a USB stick) or cloud storage sites (Dropbox is one). It will save heartache if the worse should happen.
Confusingly, different apps will produce art work in different formats, with the most common being JPEG (probably the most prevalent and easy to share online and edit), PNG, Photoshop and PDF files. The most important thing is just to save your work in one of these formats.
Final words
If you’re someone like me, who grew up in an analogue world with paper and canvas, you might find drawing on a piece of glass with a finger quite a shock to deal with. At the start it can be frustrating. It takes time to train your brain to know where your finger is in contact with the screen because your finger is in the way! It’s about practice and getting used to working differently – never be disheartened by it not ‘looking right’ and having to work in an unfamiliar way – just have fun! It will make you draw differently. Where and when you create art will change too, which I found isn’t a bad thing at all.